
This post may contain affiliate links, including Amazon links. That means I may earn a small commission—at no extra cost to you. I only share products I use, love, and think will add a little magic to your day.
I am SO happy you’re here, let’s get started with your new obsession. Press-On Nails.
Application
The directions on the back of the box could be better, here are my tips for a long lasting manicure with press-ons.
Before we even start to apply, we’ve got to PREP our nails properly.
- Wash and dry your hands with soap and water.
- Push back your cuticles.
- Sanitize your nails, rubbing alcohol will do the trick.
- Dehydrate your nails, yes this is different than sanitizing, with a dehydrator or 100% acetone.
- Add some texture, this is where you’ll lightly buff your nails. Just enough to remove the shine.
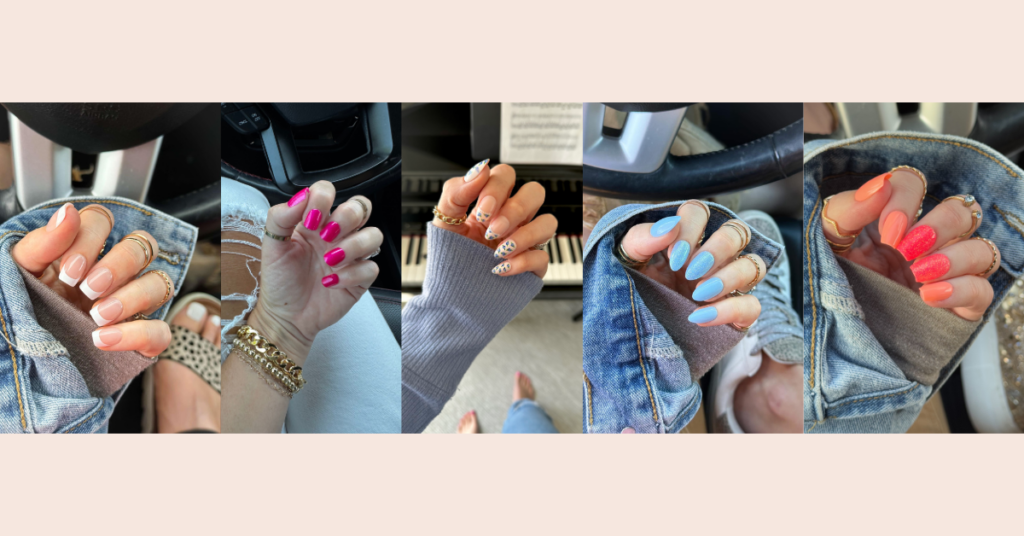
Layout your press-ons, be sure to size them correctly.
You want them to cover your nail when you are pressing down, if it’s hanging onto your skin, it’s too big. If you can see a lot of your natural nail, it could be too small.
Application (this is what you’re here for right?)
- Apply the nail at a 45 degree angle, lowering it slowly.
- Hold with gentle pressure for 60-90 seconds. Do not lift your finger, or move it around, and pressing too hard is a common mistake.
- The glue is strong, so not much is needed. You don’t want it to drip out the sides, this can lead to pop offs.
- Take your time, especially when you’re new to press-on nails. I like to set a stopwatch on my phone to be sure I’m holding for 60-90 seconds.
Tip – Apply your nails right before bed! This will give the glue the entire night to solidify.
Removal
Removal is where people make the mistakes that lead to “press-ons ruined my nails”. We need to be gentle in removal to keep our nails healthy.
The nails will come off with pressure overtime as the oils you naturally produce breakdown the glue. I suggest waiting around 5 days or until they start popping off on their own.
Removal Steps
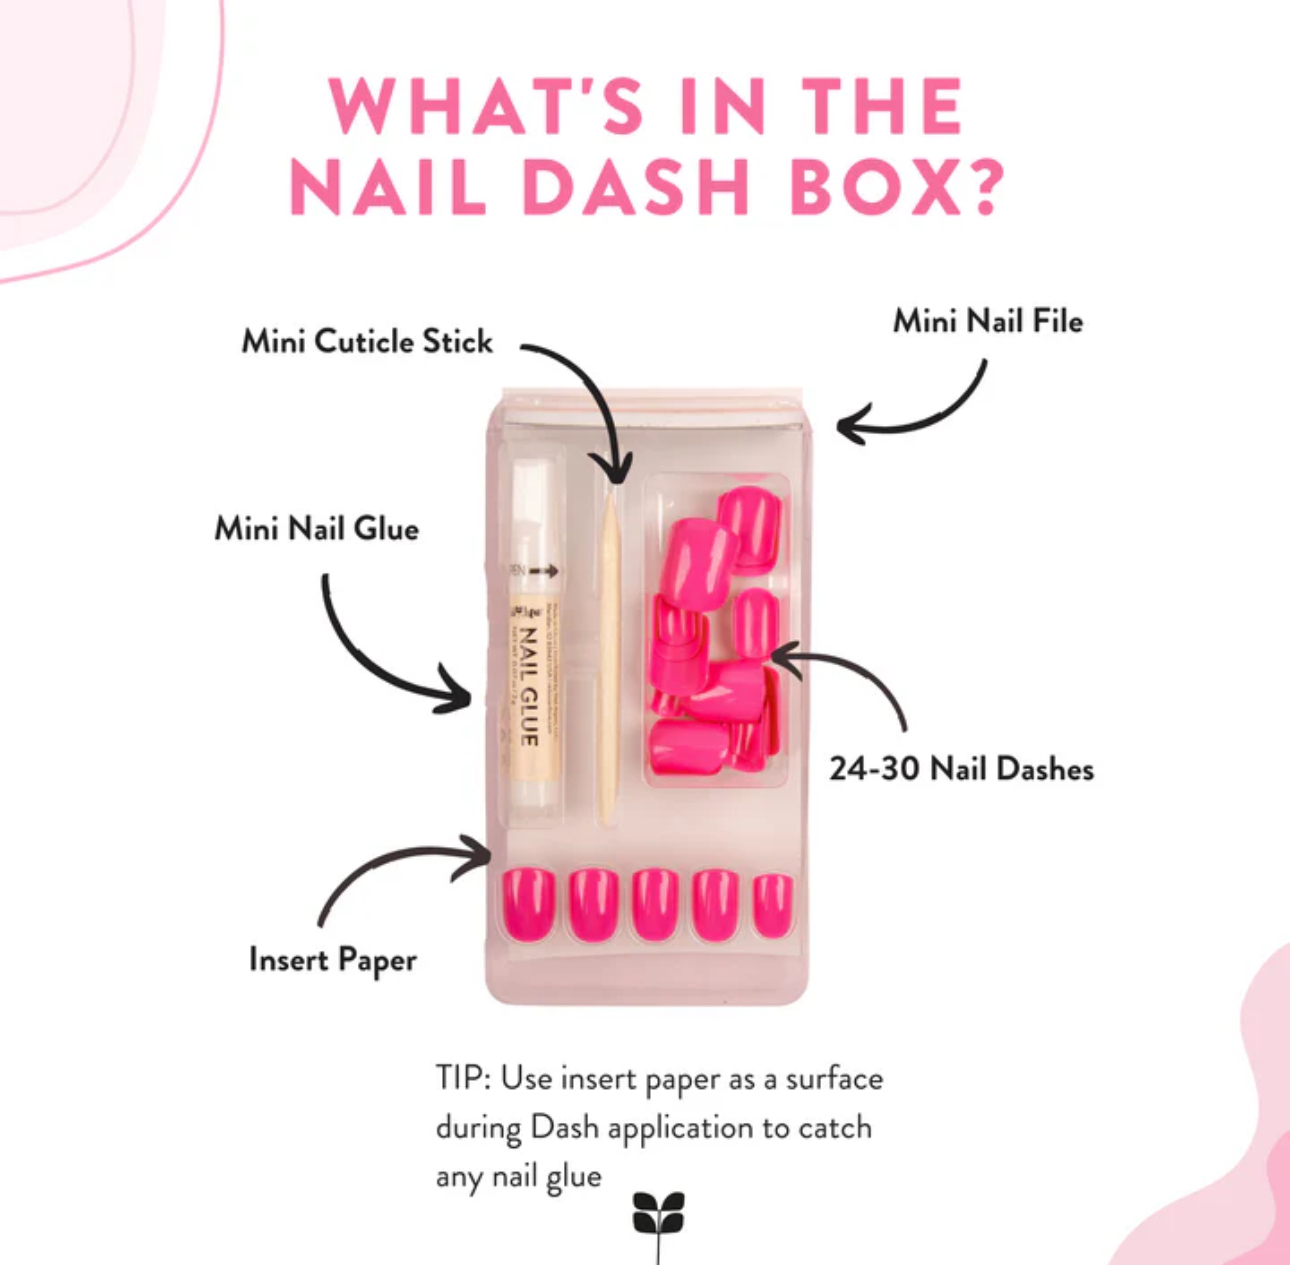
- Break the seal using the removal tool, cuticle stick or flosser. This will allow you to get cuticle oil underneath when you’re soaking.
- Add an oil, cuticle oil or an olive oil will help break down the glue. Get that oil in where you broke the seal.
- Soak the nails in warm soapy water, feel free to add a couple drops of your oil in too. Let them soak for 2-5 minutes.
- Using the removal tool, start at the cuticle and work your way forward. The dash should pop off with the pressure. This tool helps to distribute the pressure evenly, allowing for a gentle removal.
- Once you remove the dashes, wash and dry your hands. I advise a buffer to removal any glue residue. A buffer is more gentle than a nail file. Then you’ll want to hydrate your nails with a cuticle oil.
Ready for your next set? I recommend waiting a day or two, but you do you, girl.
Troubleshooting
Like anything new, there can be a learning curve. Many people do have pop-offs or a shorter wear with their first set. Don’t give up!
Some of the top reasons for pop-offs:
- Nail Glue – it may be old or stringy, this can happen if you’re using brush on glue or a tube you’d opened previously.
- Dehydrate – This step gets skipped, use a dehydrator to remove the oils from your nail beds.
- Distraction – This is a simple fix, when we rush, we miss a step or don’t hold the dash as long as needed. I set a stopwatch on my phone to ensure I am holding for 90 seconds each.
- Sizing – When we size too big, we don’t get a good seal.
- Too much pressure – if glue oozes out, it creates air bubbles which won’t allow a good seal. Light pressure, longer hold time.
Need 1:1 help with your nails?
Text me at 920-282-4466, This is my direct line, and I want to help you!
People are going to be asking for your nail tech once you master your press-on process, I promise.